I accidentally deleted some important files and then emptied the Recycle Bin on my Windows PC. I’m trying to figure out the safest Recycle Bin recovery method before I make things worse or overwrite the data. What tools or steps actually work?
If you emptied the Recycle Bin by mistake, don’t keep using that drive if the file matters. In a lot of cases, Windows hasn’t truly wiped the file yet. It usually just marks that space as free, and the data can sometimes be recovered until something new gets written over it.
First, check the Recycle Bin one more time. It sounds basic, but it’s worth doing, especially if the file was inside a folder you deleted. Open the Recycle Bin from the desktop, find the file or folder if it’s still there, right-click it, and choose Restore. Windows should put it back where it came from.
If the bin really is empty, avoid saving or downloading anything to that drive. Don’t install recovery tools there either. Browsing a bunch, installing apps, creating documents, or copying files can all write new data over the space where the deleted file used to be.
After that, check backups. If File History or Windows previous versions were enabled, go to the folder where the file originally lived, right-click inside the folder, and choose Restore previous versions. Look for a version from before the file was deleted, open it, and copy the file somewhere safe.
You can also get to File History here:
Control Panel > System and Security > File History > Restore personal files
That view lets you browse older versions of common backed-up folders like Documents, Pictures, Desktop, and similar locations.
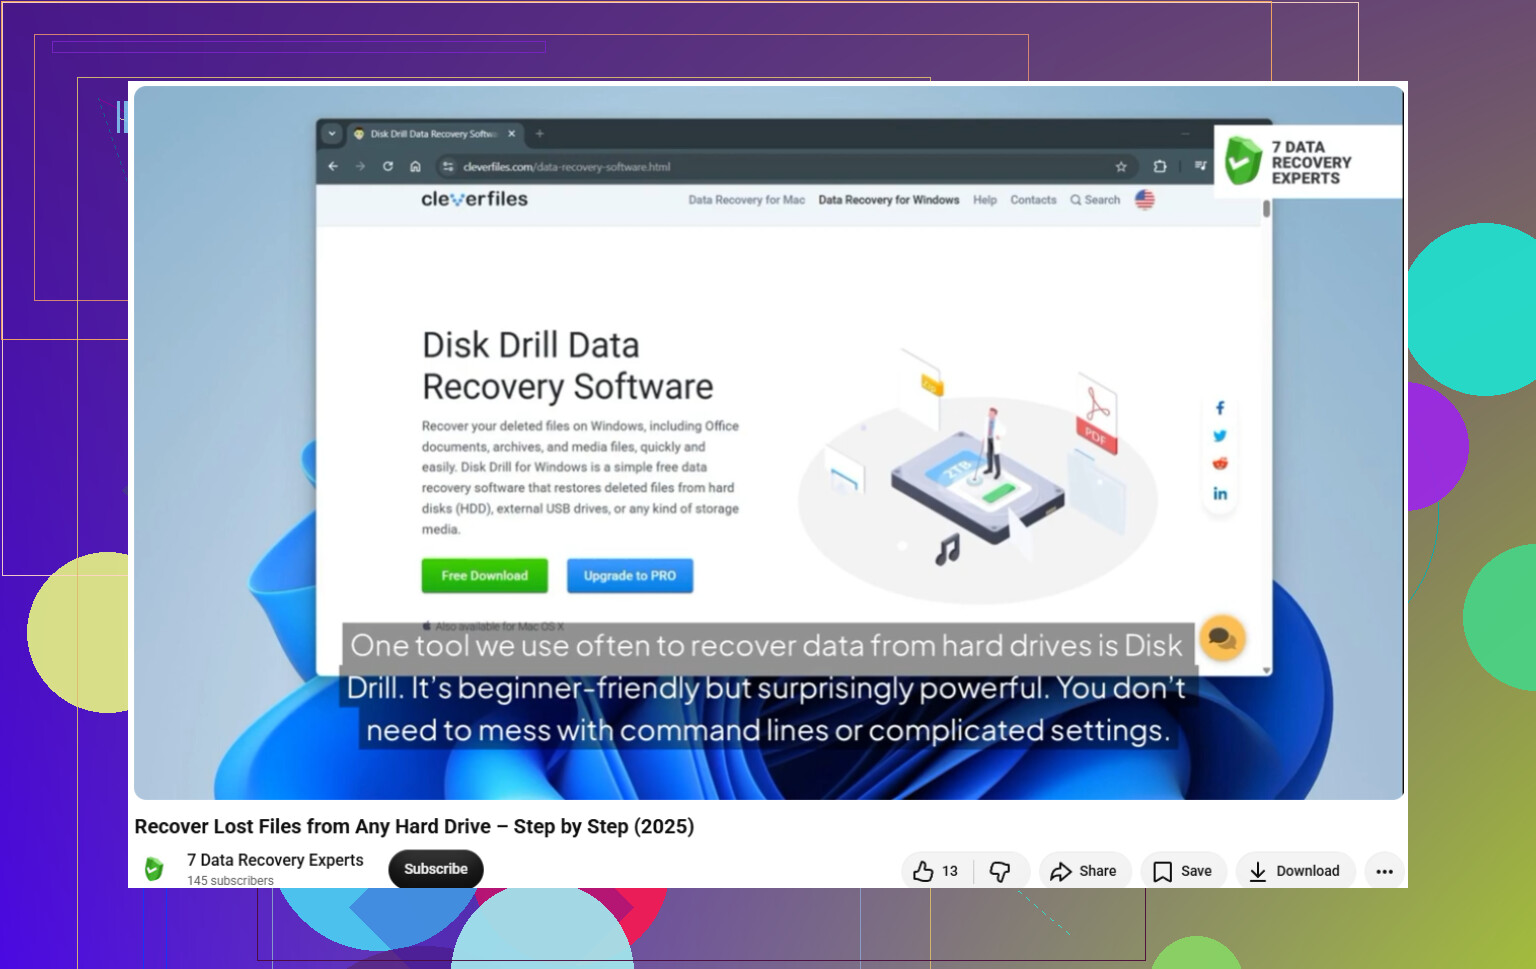
If you don’t have a backup, recovery software is the next thing to try. Disk Drill is one option that can scan NTFS, FAT32, and other file systems for deleted documents, photos, videos, and other file types.
The important part is where you install and save things. If the lost file was on C:, install the recovery program somewhere else, like another internal drive, an external drive, or another suitable storage device.
Basic process:
- Open the recovery software and select the drive the deleted file was on.
- Choose Search for lost data.
- Let the scan finish. A deeper scan may find files even if the original names or folder paths are gone.
- Preview anything you can. If the file previews correctly, that’s a good sign, though it still doesn’t guarantee a perfect recovery.
- Select the files you want and click Recover.
- Save the recovered files to a different drive, not the one you’re scanning.
The Windows version may include a small amount of free recovery, which might be enough if you only need a few small files. Check the current licensing terms before you start so you know what to expect.
If the deleted file was on an SSD, recovery can be less reliable because of TRIM. TRIM helps the SSD clear deleted blocks, so the original data may become unavailable faster. The sooner you stop using the computer and try recovery, the better your chances usually are.
11 Likes
If the files were on an SSD system drive, the safest method may be to stop using that Windows install entirely before you do anything else. Even booting, updating, syncing OneDrive, or letting a browser cache files can write to the same disk. On an SSD, TRIM can make recovery fail even faster, so “try a few tools and see” is not always harmless.
For anything truly important, I’d treat recovery software as step two, not step one. The cleaner approach is to remove the drive or boot from another drive, then make a sector-by-sector image of the affected disk if you can. Work from the image, not the original. That way, if Disk Drill or another recovery app does a long scan, crashes, or you choose the wrong option, you still have the untouched original to fall back on. This matters more for hard drives than SSDs, but it is still a good habit.
If the files are replaceable or not worth paying a lab, then yes, a normal recovery scan is reasonable. Just don’t recover back to the same drive. Save recovered files to an external disk or another internal disk. And be realistic about filenames and folders: after the Recycle Bin is emptied, some tools may find the contents but not the original path or name, so previewing files matters more than trusting the file list.
If the deleted files were on a separate hard drive, not the Windows C: drive, I’d power down and unplug that drive rather than keep scanning it from the same PC. People often forget that “recovery” can be ruined by helpful Windows stuff too, like CHKDSK repairs, indexing, thumbnails, antivirus quarantine, or a cloud sync client recreating folders. Don’t run cleanup tools, don’t “fix” the drive, and don’t format it even if Windows asks. For a low-value recovery, try a read-only scan with something like Disk Drill or another tool and recover to a different disk. For anything you’d be sick about losing, make an image first or go to a lab before experimenting. The worst method is installing five recovery apps onto the same drive and comparing them after the damage is already done.
Pulling the disk can backfire if the Windows drive is BitLocker-encrypted and you do not have the recovery key. Before removing it, booting from another USB, or handing it to another PC, make sure you can unlock the drive. Otherwise you may turn a normal recovery job into “now I can’t even read the disk.”
I mostly agree with the advice above about not writing to the drive, but I’d separate “safe” from “convenient.” The safest DIY route is: stop using the affected Windows install, check non-destructive sources first, then scan. By non-destructive sources I mean OneDrive/Dropbox trash, email attachments, Downloads history, app-specific recovery folders, Windows Previous Versions, and any backup drive. Those are boring checks, but they don’t chew on the original disk and sometimes solve the problem in five minutes.
If that fails, use recovery software from another drive and recover to another drive. Disk Drill or a similar tool is fine for a normal deleted-file scan, but don’t install it on the same C: drive you emptied the bin from. If the files are business-critical, family photos with no backup, legal records, etc., don’t “try just one more scan” for hours. Image the drive first or pay a lab. For replaceable stuff, a careful scan is reasonable. Just expect mixed results: names, folders, and dates may be wrong even when the file contents are recoverable.