I accidentally deleted photos and video files from my camera’s SD card while trying to clear space on my Mac. The card still shows some used storage, so I’m hoping the files aren’t gone for good. I need help with the best SD card recovery methods for Mac, including safe recovery software and steps that won’t overwrite my deleted camera files.
If you’re trying to get deleted files back from an SD card on a Mac, I’d stop using the card right now. I made the mistake once of ‘checking if it still worked’ by shooting a few more photos. Bad call. If you write anything new to it, your old files get a better chance of being overwritten. So, no new photos, no dragging files onto it, no format attempt yet.
On macOS, deleted files from SD cards are often still there for a while. What usually disappears first is the index entry, not the file data itself. Recovery gets harder if you kept using the card, ran a full format, or the missing files got overwritten by new data.
If you want the easier route, I’d start with Disk Drill. I used it on a MacBook when a camera card got wiped after a bad import, and it was one of the few tools that didn’t make me feel like I needed a storage engineering degree. The file list was readable, previews helped, and it handled RAW photo formats without much fuss. One feature I’d pay attention to is disk imaging. If your card drops connection or throws read errors, making a byte-for-byte image first is safer than hammering the card with repeated scans. For the YouTube explainer on that part:
What I’d do:
- Put the SD card in a decent card reader and connect it to your Mac.
- Open Disk Drill and pick the SD card itself, not some random volume if it shows more than one thing.
- Run the full scan. Let it finish. Cutting it short too early cost me results once.
- Preview what looks recoverable.
- Save recovered files to your Mac’s internal drive or a different external drive.
One part people ignore, then regret. Do not restore files back onto the same SD card. If you recover onto the card you’re scanning, you risk writing over other missing files before they’re recovered. That tanks your odds fast.
A lot of people also mention PhotoRec. Fair. It’s free, and from what I saw, it does well with damaged or corrupted media. The tradeoff is the interface feels rough, and recovered files often come back with generic names and no original folder structure. If you only care about getting the bits back, it’s useful. If you want a cleaner recovery flow, it’s a bit of a slog.
One more thing. If the SD card keeps disconnecting, shows weird errors, makes strange sounds, or doesn’t mount properly on your Mac, I’d stop with home recovery attempts. At that point, every extra read can make things worse. A recovery lab costs more, yeah, but if the files matter, I wouldn’t keep poking at a failing card. I did that once with an old microSD and turned a partial recovery into almost nothing. Wish I had stopped sooner.
6 Likes
If the card still shows used space, your photos and videos often still exist. The file map got removed first, the data stayed behind until new writes replace it. So the first move is simple. Leave the SD card alone.
I agree with @mikeappsreviewer on stopping use. I disagree a bit on going straight into a full scan on the physical card if it feels unstable. On a healthy card, fine. On a flaky one, I’d first check the card’s health in Disk Utility. If First Aid throws read errors or the card disconnects, I’d skip repeated scans and work from an image file instead. Less stress on the card.
My order on Mac would be:
- Put the SD card in a reliable USB card reader.
- Open Disk Utility and see if the card reports the right size.
- If it mounts, do not copy anything onto it.
- Recover files to your Mac or another drive, never back to the SD card.
- If the card is unstable, image it first, then scan the image.
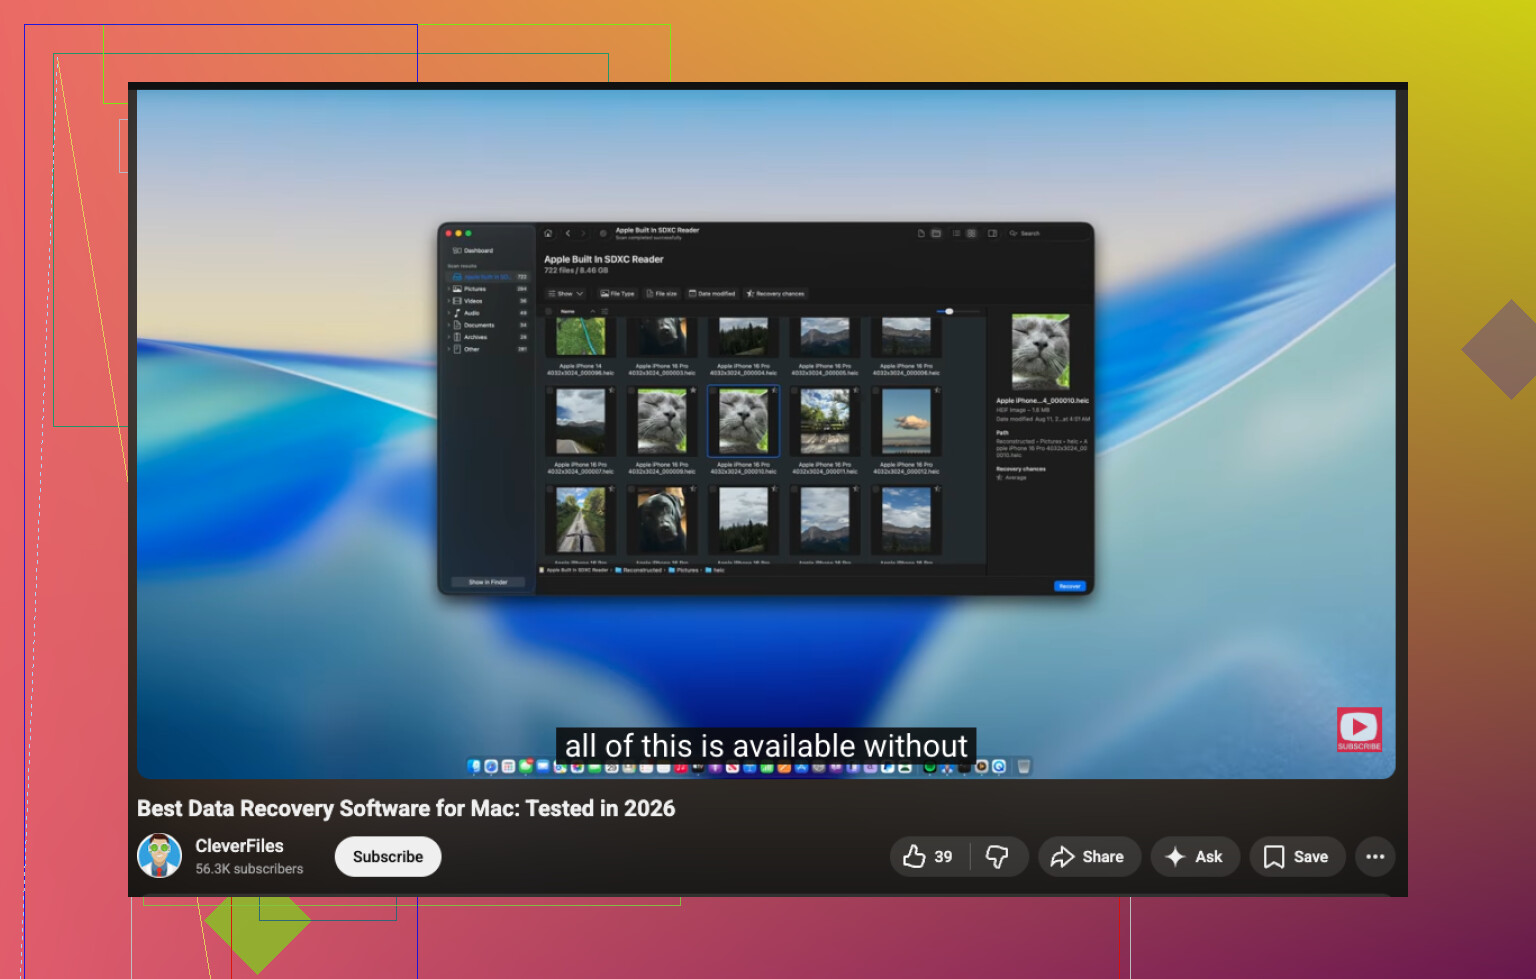
Disk Drill is still a solid pick here. It’s one of the better Mac tools for SD card recovery, deleted camera files, and RAW formats. If you want a cleaner guide for the best Mac SD card recovery software, this video helps: watch this Mac recovery software walkthrough
If you want a free route, TestDisk and PhotoRec work, but file names often come back mangled. Kinda annoying tbh. Great for raw recovery, bad for organization.
One more thing people miss. Check the Trash in your photo import app or Mac, if you deleted during import and not on-camera. I’ve seen files show up there after a ‘whoops’ moment. Not often, but enough to be worth 30 secnds.
If the card still shows used space, that’s actually a decent sign. Deleted camera files on SD cards are often only “unlinked” first, not instantly erased. So yeah, there’s still a real shot at SD card recovery on Mac.
I mostly agree with @mikeappsreviewer and @viajeroceleste, but I’d add one thing people skip way too often: check whether the files were deleted by Finder or an import app rather than by the camera itself. If it happened during a Mac cleanup, look in Trash, Photos recently deleted, Image Capture leftovers, or even Lightroom/Capture One catalogs if you use those. It sounds obvious, but obvious stuff saves hrs.
If they’re truly gone from the card, Disk Drill is probly the easiest Mac option for recovering deleted photos and videos from an SD card, especially if you’re dealing with JPG, MP4, MOV, or RAW camera files. I like it more for Mac users because the previewing is less of a mess than with some free tools. I don’t totally agree that everyone needs to run First Aid before recovery though. If the card is mounting fine and acting normal, I’d avoid doing extra operations just because Disk Utility exists.
One extra tip: if your camera uses SDXC or exFAT, stop unplugging/replugging the card a bunch of times to “see if it comes back.” That can make a marginal card worse. Read once, recover once, save elsewhere.
Also, if you want more real-world takes, this thread has some decent recovery discussion: camera SD card recovery advice from real users
Short version:
- stop using the SD card
- check Mac/app trash spots first
- use Disk Drill if the card is readable
- recover to another drive, not the same card
- if the card starts failing, image it before doing more stuff
If the files are super important and the card starts throwing I/O errors, don’t keep poking at it. That’s where DIY recovery goes from “maybe” to “welp.”
One small disagreement with @viajeroceleste: I would not run First Aid on an SD card that already looks logically fine. It sometimes helps, but on removable media it can also rewrite filesystem metadata, which is not my favorite move before recovery.
My take is this:
- If the card mounts and you can browse it, clone it first with Disk Utility or
ddif you know Terminal. - Do recovery from the clone, not the original card.
- If the card does not mount but is still detected at the correct capacity, that is still workable.
- If capacity is wrong or the card vanishes randomly, stop DIY and consider a lab.
@micappsreviewer, @viajeroceleste, and @suenodelbosque are all right about one thing: do not write anything back to that SD card.
About Disk Drill specifically:
Pros
- very Mac-friendly
- previews photos/video before recovery
- decent support for camera RAW formats
- can scan whole device, not just mounted volume
- imaging feature is useful if the card is sketchy
Cons
- free mode is limited
- deep scans can take a while
- recovered folder structure is not always perfect
- sometimes finds a ton of duplicates/partials, especially with video
If you want alternatives, PhotoRec is the usual free fallback, but expect ugly filenames and a messier result. For camera footage, sometimes that is still worth it.
Extra thing people miss: if the deleted files were ever imported to Photos on Mac, check the Photos library package size before assuming total loss. I have seen people think the card was the only copy when the originals were quietly sitting inside the library.
So my order would be:
- Stop using the card.
- Confirm whether the missing files exist anywhere on the Mac already.
- Clone the SD card if possible.
- Scan the clone with Disk Drill.
- Recover to a different drive.
That gives you the best shot without repeatedly stressing the original card.