My Seagate external hard drive suddenly stopped showing up correctly, and I need to recover important files as soon as possible. I’m looking for safe Seagate drive recovery steps or reliable software recommendations before I make the problem worse.
I’d stop using that Seagate drive for now. If it suddenly looks empty, shows up as unformatted, or Windows can’t see the files anymore, the data may still be there. The danger is that every extra write to the drive can overwrite something you might still be able to recover.
So don’t format it, don’t initialize it, and don’t copy anything new onto it. Just disconnect it until you’re ready to work on recovery. A lot of the time, missing files are caused by a damaged file table or partition issue, not because the actual files were wiped right away.
First thing I’d check is whether the drive sounds healthy. If it’s clicking, grinding, beeping, repeatedly spinning up and down, or making any new weird noise, don’t run recovery scans on it. That can make a physical failure worse. In that case, look at Seagate Rescue Data Recovery Services. Some Backup Plus drives had limited Rescue coverage, and you can check eligibility with the serial number on Seagate’s site.
If the drive sounds normal, then it’s more likely a file system or partition problem. For example, Windows may ask you to format it, show it as RAW, or skip showing it in File Explorer entirely. Annoying, but it doesn’t automatically mean the files are gone.
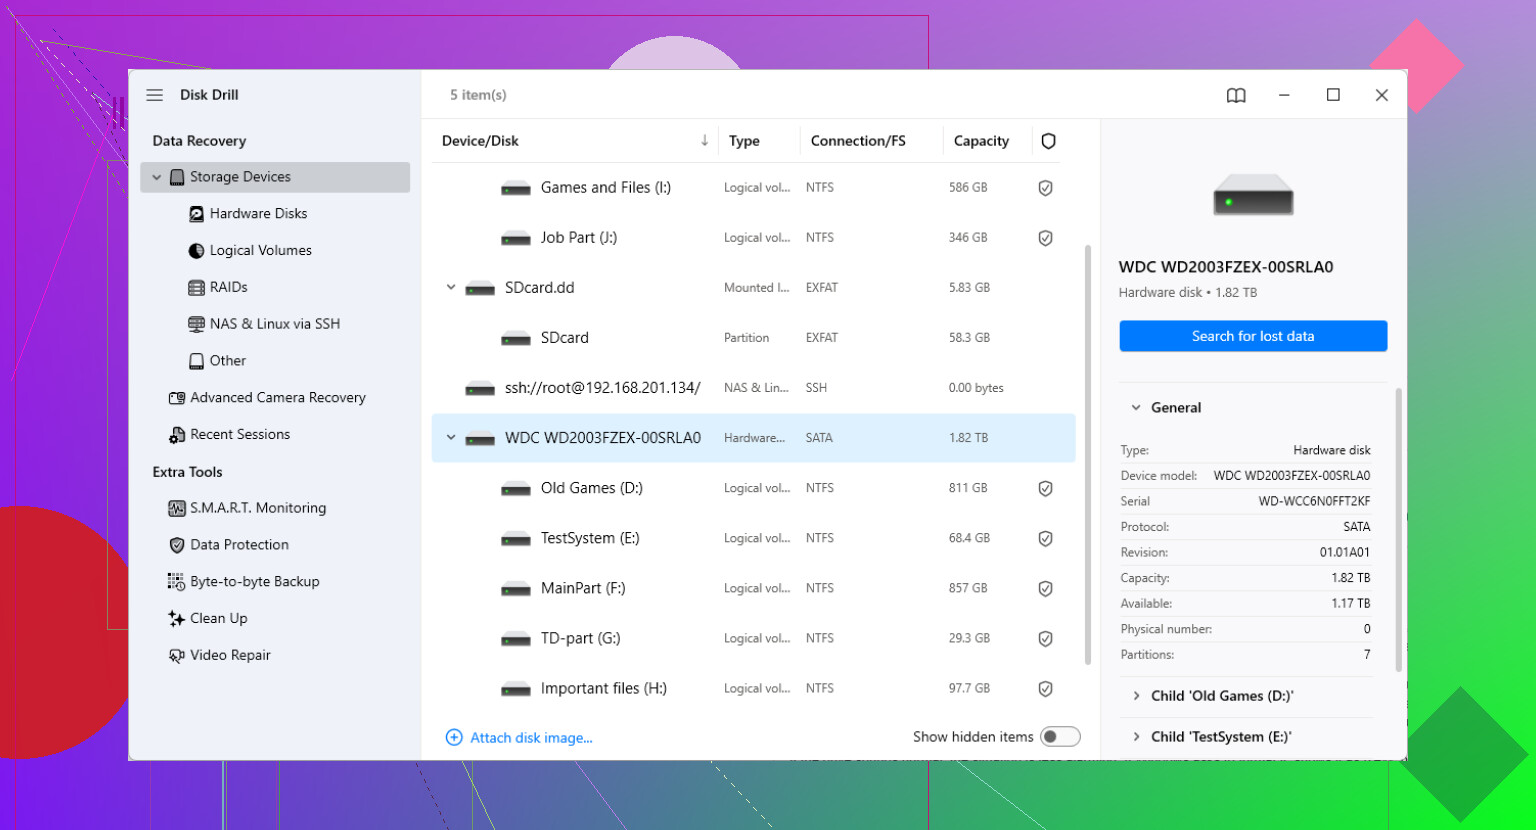
For a DIY attempt, Disk Drill is a reasonable option. It can be useful when an external Seagate drive was unplugged improperly, lost a partition, or is detected by the computer but can’t be opened normally.
The safer way to do it is:
Install Disk Drill on your internal drive, or on some other separate drive. Do not install it on the Seagate drive you’re trying to recover.
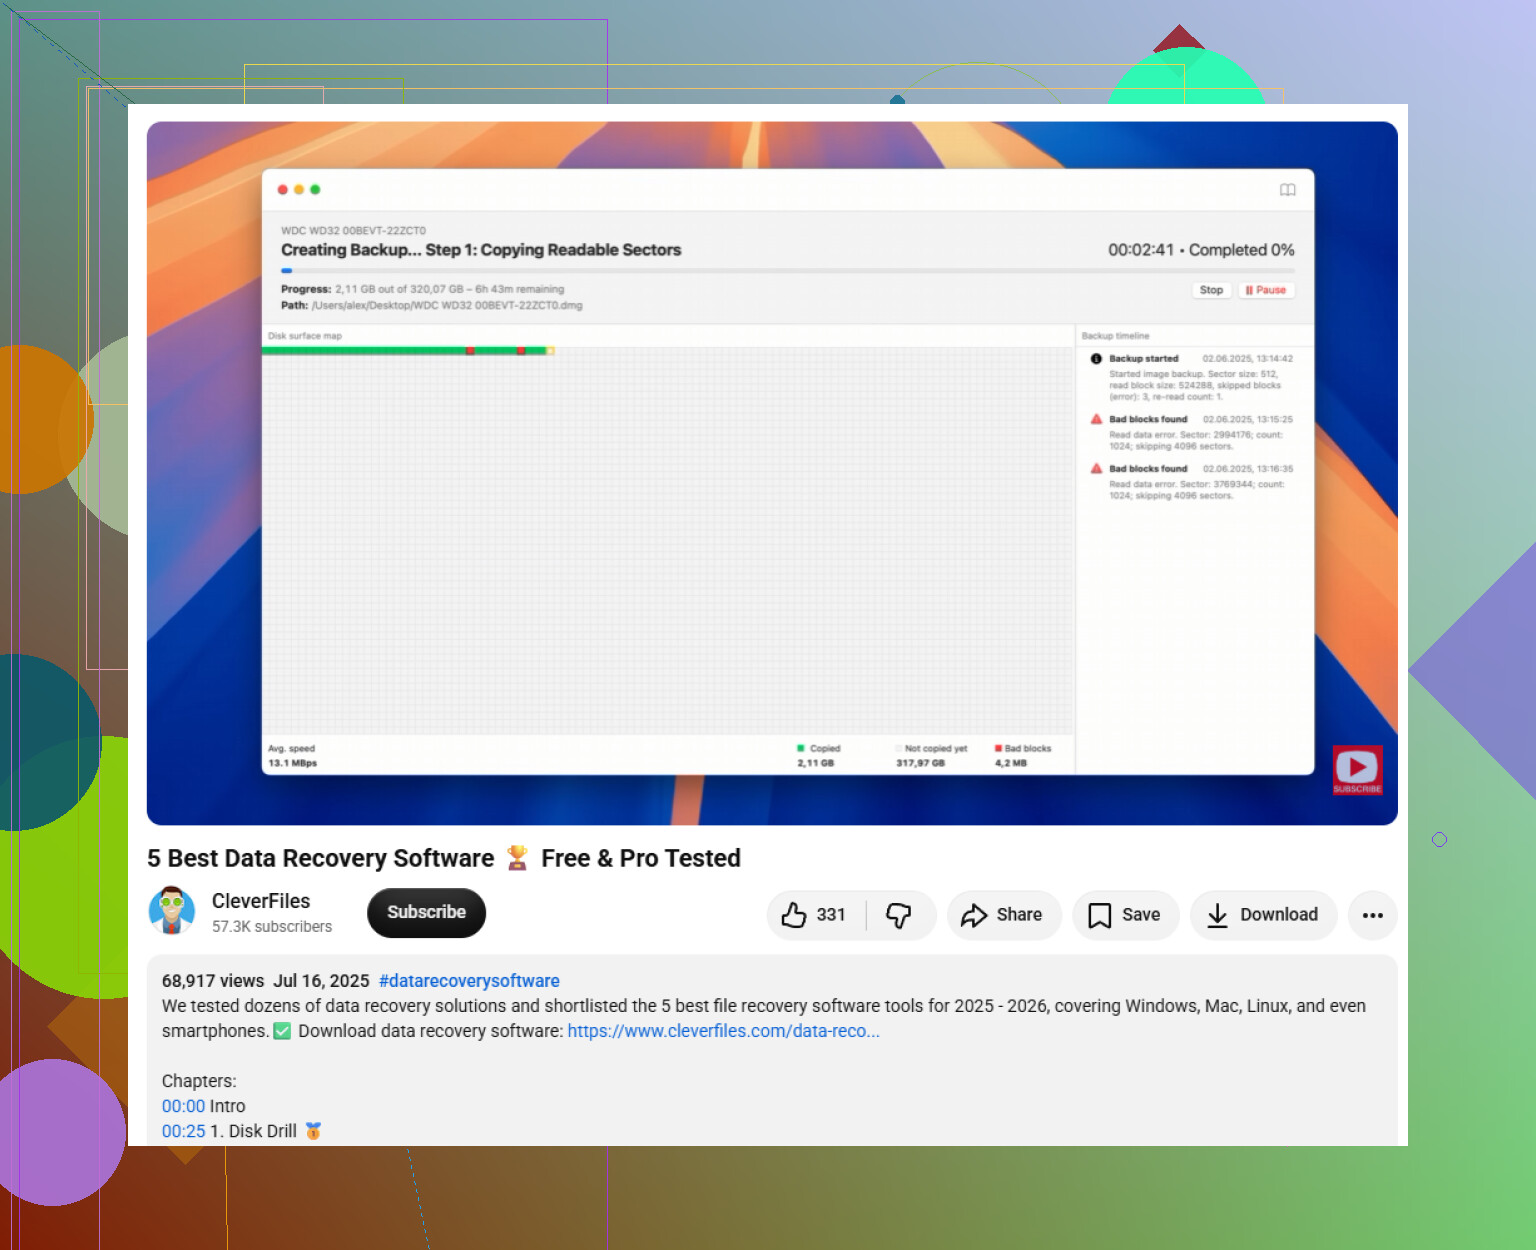
If the files are important, make a byte-to-byte backup first. Disk Drill can create a full image of the Seagate drive, then you scan that image instead of beating up the original disk. That’s a better approach if the drive is old, unstable, or acting flaky.
Then scan either the image or the original drive. Use a good USB cable, and if detection is unreliable, try a different cable or USB port. Sometimes the problem is the cable or enclosure connection, not the actual disk.
When the scan finishes, check the results carefully and use preview before recovering anything. If photos, documents, or videos preview correctly, that’s usually a good sign.
Save recovered files to a different drive only. Never recover them back onto the same Seagate drive while you’re still trying to get data off it.
If the drive doesn’t show in File Explorer, check Windows Disk Management. If it appears there with the right capacity, recovery software may still be able to scan it even if Windows can’t open it.
After you’ve recovered the important stuff, test the Seagate drive with SeaTools from Seagate. Run the Long Generic Test. If it fails, replace the drive. If it passes, you can reformat it, but I’d still keep a separate backup and not fully trust it right away.
Large external drives can take a long time to scan, so let the scan run unless the drive starts making bad sounds or keeps disconnecting. If it’s still being detected and there are no signs of mechanical failure, recovery is worth trying.
13 Likes
If it only misbehaves in that Seagate USB case, the enclosure or cable may be the failure, not the drive. Try another short cable and a rear USB port first, but don’t crack the case unless you know the model, since some portable Seagates have the USB board built into the drive and you can make recovery harder.
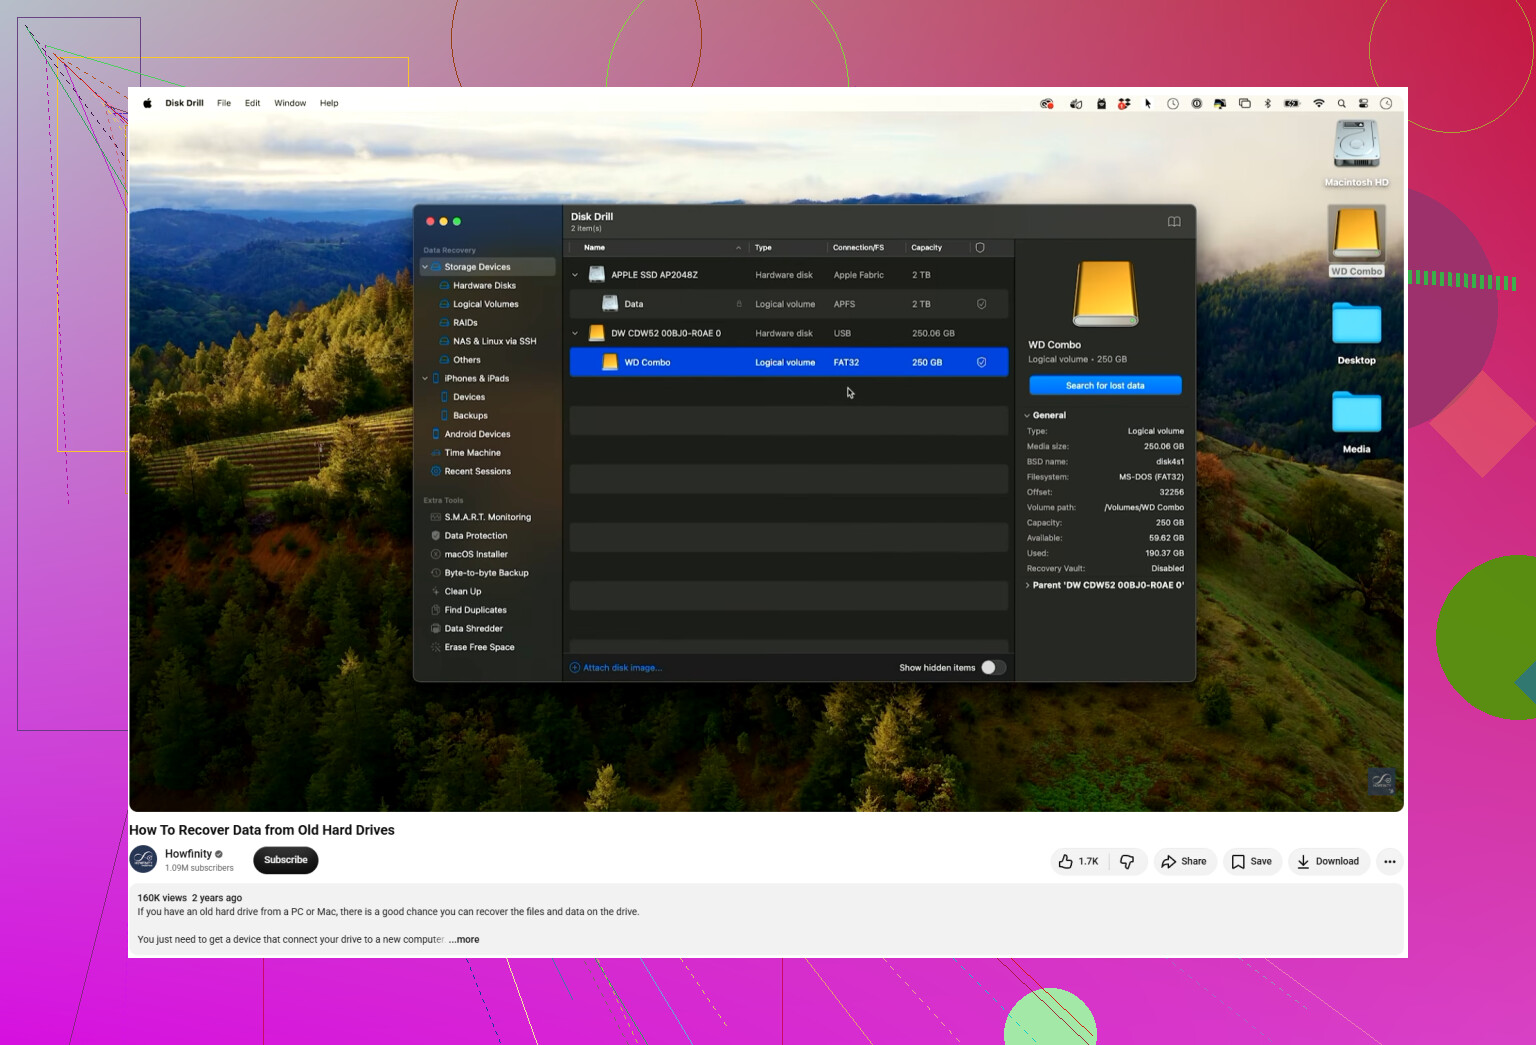
If Windows pops up “scan and fix,” “repair this drive,” or anything involving CHKDSK, skip it for now. That can change the file system while you’re still trying to recover from it, which is bad if the directory structure is already damaged. I agree with the image-first approach, but if you’re in a hurry and the drive still mounts even briefly, grab the irreplaceable small stuff first to another disk, like documents and photos, before spending hours on a full scan. Disk Drill is fine for a DIY scan after that, but speed should come from triage, not from letting Windows “fix” the Seagate.
Check the drive’s reported size in Disk Management before you run any recovery scan. If the Seagate shows as the correct capacity, like 2TB showing roughly 1.8TB, then software recovery has a fair chance. If it shows 0 bytes, “No Media,” or some tiny nonsense size, don’t waste hours with Disk Drill or any other scanner. That usually means the USB bridge, firmware, or the drive hardware is not presenting the disk properly.
I slightly disagree with the “grab small files first” idea if the drive is disconnecting every few minutes. In that case, random browsing through folders can be rough on a failing disk because Windows keeps retrying and hanging. If the drive is stable and opens normally, sure, copy the most important files first. If it freezes Explorer, disappears, or makes the system lag, stop treating it like a normal drive.
For speed, don’t run every possible scan mode blindly. In Disk Drill or similar tools, first look for the lost partition or existing folder tree. If it finds the original folders quickly, recover from that view first. Raw file carving is the slow “last resort” scan, and it often gives you piles of files with missing names and messy folders. It can still save photos and videos, but it is not the fastest path if the file system is partially intact.
Another thing people forget: make sure your recovery destination has enough space before you start. Recovering a 4TB Seagate onto a half-full laptop drive is how you end up stopping halfway and doing the job twice. Use a different external drive, preferably connected directly to the computer, not through the same cheap USB hub.
If the files matter more than the drive, don’t try five different repair tools in a row. Do one careful recovery attempt, save to another disk, then test or reformat the Seagate later. The “fast” version is really: confirm correct capacity, avoid repairs, scan only if the drive is stable, recover the highest-value folders first, and leave drive health testing until after the data is safe.