My 2TB external hard drive started showing bad sectors after it disconnected during a file transfer, and now some folders won’t open and copy speeds are extremely slow. I have important photos, videos, and backups on it, and I need advice on the safest way to recover data from a failing external HDD without making the bad sectors worse.
I ran into this more than once. CRC errors, folders freezing Explorer, copy jobs stalling at 99 percent. It feels bad fast. The main thing I learned was simple. Stop touching the drive.
If it is your system disk, power the machine off. If it is external, unplug it. I did the opposite once, kept retrying, let Windows keep poking at the bad spots, and the drive got worse by the hour. A weak disk does not like extra reads.
What those bad sectors usually mean
There are two broad cases.
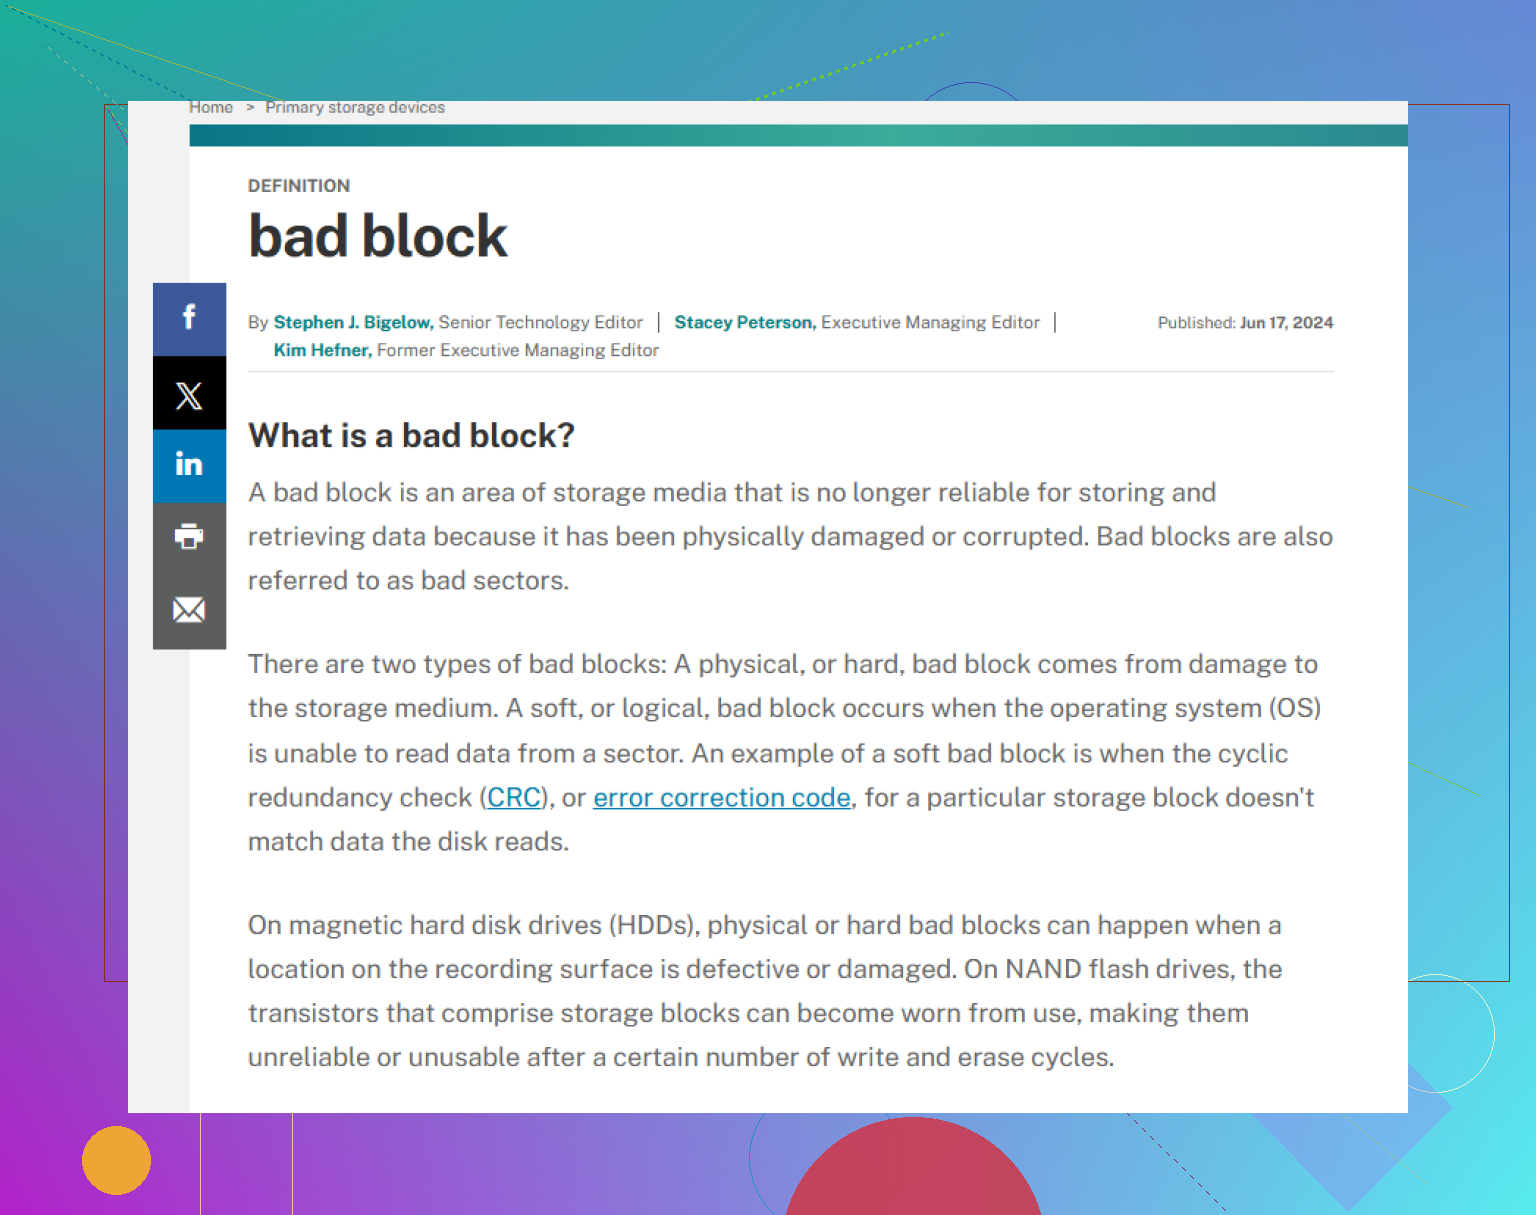
Soft bad sectors. The sector data and its error check do not line up anymore. I saw this after a forced shutdown during a file move. Sometimes those sectors read again later, sometimes after imaging, sometimes after a rewrite.
Hard bad sectors. Physical damage, weak surface, failing head, aging media. Software does not repair physical damage. At best, the drive marks those areas unusable and limps on.
Do not start with CHKDSK
I know the urge. You want Windows to 'fix' it. I would not do that first.
Repair tools try to make the file system consistent again. Your files are not their priority. If metadata is damaged, the tool might toss broken entries so the volume mounts cleanly. Nice for the file system, bad for your missing photos or project folder.
What worked better for me
Clone first. Ask questions after.
You want one pass, sector by sector, from the shaky drive onto a healthy target. Then do recovery work on the copy, not on the original. If the source quits mid-process, at least you kept what was still readable.
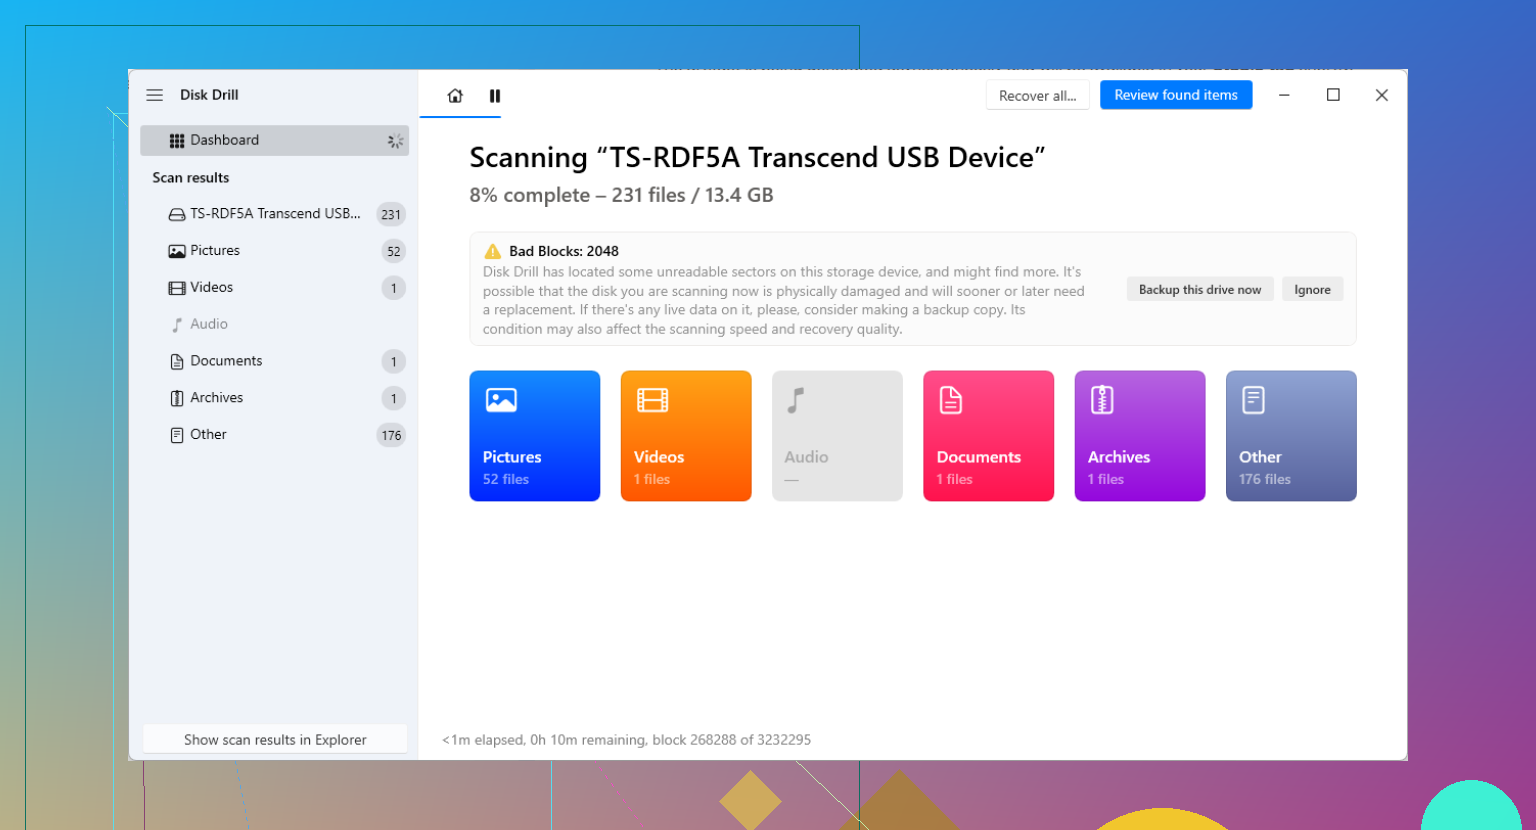
I used Disk Drill for this kind of mess. Most people talk about file recovery, but the part I cared about was Drive Backup. That was the piece I needed.
On newer builds, it handles ugly areas better than older stuff I tried. When it hits a bad block, it does not always sit there forever and choke. It skips rough spots, copies easy data first, then circles back and tries tighter reads on the damaged parts. That matters. Less stress on the drive, better odds you pull more off before it gives up. At least tha'ts how it behaved for me.
DIY route, plain version
1. Get another healthy drive.
It needs equal or larger capacity than the failing one.
2. Make an image or clone.
Byte for byte. Wait it out. Sick drives are slow. I had one take almost a full day.
3. Mount or attach the image file.
If the tool saves a .dmg or .img, scan the image file, not the original hardware.
4. Recover from the image.
Save recovered files somewhere else. Not back to the bad disk. Not onto the same clone if you can avoid it.
When I would stop and send it out
If you hear clicking, grinding, repeated spin-up attempts, or little beeps, I would quit the DIY plan. Same if the drive is missing in BIOS or does not spin at all.
At that point, software is not the fix. A lab is the fix, if the data matters enough. Places like Gillware or Techchef deal with head swaps, donor parts, cleanroom work. It costs real money, often somewhere around $500 to $3,000 from what I have seen. Still, for business files, family photos, legal stuff, it beats making the damage worse at home.
After the files are safe
Only after you verify your data is back would I mess with the old drive.
You can run chkdsk /r in PowerShell or do a full format in Windows. Not quick format. A full one forces a sector check and marks damaged spots so the file system avoids them.
I still would not trust the drive again for anything important. Once bad sectors start showing up, the trend is often downhill. Maybe slow at first, then all at once. I keep those drives for throwaway testing, if I keep them at all.
What I changed after getting burned
I stopped pretending one copy was enough. Use the 3-2-1 setup. Three copies, two storage types, one copy somewhere else. External plus cloud was enough to save me later. Wish I had done it sooner tbh.
10 Likes
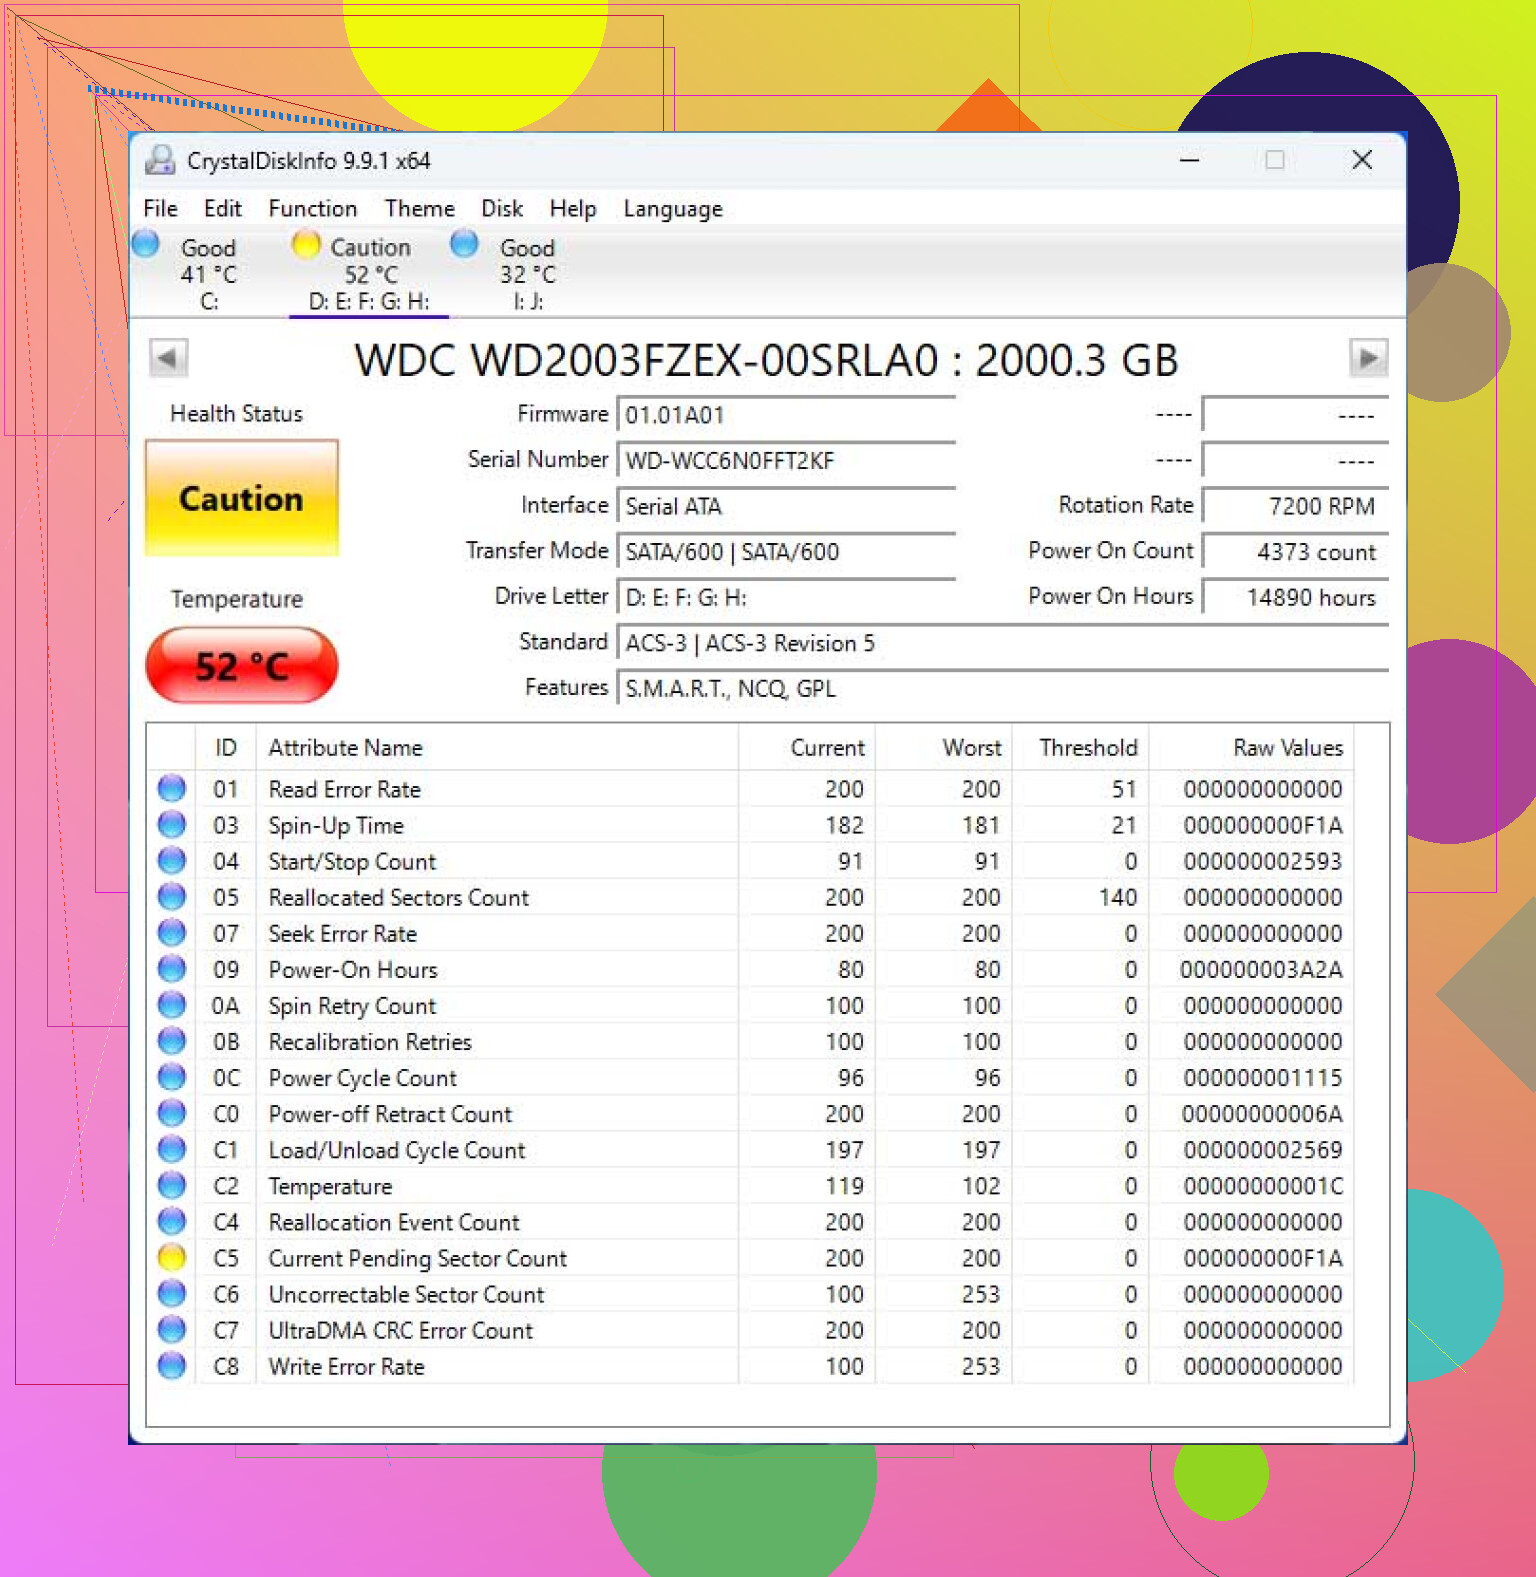
Skip repair first. I partly agree with @mikeappsreviewer on avoiding CHKDSK at the start, but I would add one thing. Check SMART before you do anything heavy. Use CrystalDiskInfo or smartctl. If you see reallocated sectors rising, pending sectors, or read error counts climbing, treat the drive like it is dying, not confused.
What I’d do:
-
Plug it into a different USB port, or better, a powered USB dock.
Bad cables and weak USB power cause disconnects and fake file corruption more often than people think. -
Copy the easiest stuff first.
Do not drag the whole drive. Open folders with your most important photos and videos and copy small batches. Start with files you care about most. If one folder hangs, skip it. -
Use a file copier with retries you control.
TeraCopy or Roadkil’s Unstoppable Copier help more than Windows Explorer. Set low retries. Endless retries cook the drive. -
If normal copying fails, scan the disk image or the drive with Disk Drill.
Disk Drill is decent for pulling files from damaged sectors on an external HDD, especially media files. Save recovered data to another disk. Not back onto the same one, obviosly. -
After recovery, test the drive fully and retire it.
A 2TB external drive with unreadable sectors and crawling reads is not backup-grade anymore.
For background on hard drive sector damage and unreadable storage areas, this explains it well:
what bad sectors and unreadable disk areas mean
Small disagreement with the clone-first advice. Cloning is ideal, but if the drive is slowing to a crawl and your top priority is family photos, targeted copying of the most important folders first is sometimes the better play. I’ve saved more data that way than by waiting 18 hours for a failing disk to image itself and then die mid-job.
I’d split this into triage and recovery, because a drive that goes from normal to “folders won’t open + super slow reads” is often failing at the hardware level, not just the file system level.
I agree with @mikeappsreviewer on one thing: don’t jump straight into CHKDSK. But I also kinda disagree with the “always clone first no matter what” camp a little, including part of @cacadordeestrelas’s take. If the drive still mounts and you know exactly which folders matter most, I’d do a priority grab before anything else:
- irreplaceable photos
- home videos
- documents
- config/export files from apps
- anything small and critical
Reason: imaging a 2TB disk with weak sectors can take forever, and sometimes the drive degrades during the process. Sometimes the smartest move is not the most “pure” recovery move.
A couple things I would add that weren’t really covered:
1. Cool the drive down between attempts.
Not freezer nonsense, just don’t hammer it nonstop for 8 hours. Bad drives often get worse when they heat up. Try 10 to 20 minute recovery bursts, then let it rest. Sounds dumb, but I’ve had this help on flaky externals.
2. Stop using Explorer for problem folders.
Explorer loves to hang on damaged directories. Try command line copy tools with timeouts:
robocopyxcopyas a fallback- Linux live USB with
rsyncif Windows keeps choking
For example, robocopy can sometimes pull partially readable folder trees without the whole GUI freezing up.
3. Watch for USB bridge weirdness.
This matters on external HDDs. Sometimes the enclosure or USB-SATA bridge is part of the problem, not just the drive. If it’s a standard external enclosure and you’re comfortable opening it, connecting the bare drive directly by SATA or a known-good dock can improve stability. Not always, but enough that it’s worth mentioning. Just check warranty expectations first obviosly.
4. Scan health data before big recovery jobs.
A simple drive health check can tell you whether you’re dealing with logical corruption or a disk that is actively dying. This is a solid read on why SMART can look “fine” while your data is already in trouble:
why SMART status can say good while your hard drive data is already failing
5. If file copy fails, recover by file signature instead of folder structure.
This is where tools like Disk Drill can help. Not because it magically repairs bad sectors, but because it can scan damaged storage and recover files by filesystem records or signatures when folders are broken. For photos and videos especially, that can be the diffrenece between getting named folders back vs at least getting the actual media.
My order would be:
- Different cable and power source
- Copy the most important folders first in small chunks
- If hangs continue, move to recovery software like Disk Drill on another destination drive
- If the drive starts clicking, vanishing, or taking minutes to read tiny files, stop DIY
And one blunt take: if this external HDD was holding your “important photos, videos, and backups” all in one place, that wasn’t really a backup setup. It was a single point of failure wearing a backup costume. Once you get anything back, retire the disk.
One thing I’d add to what @cacadordeestrelas, @jeff, and @mikeappsreviewer already covered: check the file system type before you do anything fancy.
If it’s NTFS, try reading it from a Linux live USB before running Windows tools. I’ve seen Windows choke on damaged directories while Linux still lets you browse and copy enough to save the important stuff. If it’s exFAT, I’m a bit less optimistic because corruption there can get ugly fast.
Also, I don’t fully buy the “rest the drive between attempts” advice in every case. Sometimes power cycling a marginal drive just gives it more chances to fail to spin up. If it is reading at all, I usually prefer one controlled session with minimal retries over lots of stop-start attempts.
For recovery software, Disk Drill is reasonable after basic copying fails.
Pros
- good at finding photos/videos by signature
- can scan damaged externals without needing the folder tree intact
- interface is easier than a lot of recovery tools
- useful if you want to recover onto another drive without messing with command line stuff
Cons
- not magic against serious physical failure
- deep scans can take a long time on 2TB disks
- recovered filenames/folders may be messy if metadata is damaged
- paid features may be needed depending on what you’re doing
My order would be:
- New cable, different port, direct connection if possible
- Try Linux live USB read-only style access
- Copy only top-priority folders in small batches
- If that fails, scan with Disk Drill and recover to a different disk
- If the drive starts clicking or disconnecting constantly, stop
If the data is truly irreplaceable, there’s a point where DIY becomes gambling.