My hard drive seems corrupted, but Windows still detects it in Disk Management. It may have failed after a crash or unsafe disconnect, and I can’t access the files normally. I need advice on safe data recovery steps before formatting or trying repairs that could make things worse.
A corrupted drive doesn’t always mean the data is gone. If Windows still sees the drive in Disk Management and the size looks right, there’s a fair chance the file system is what’s messed up, not the actual files.
The main thing is to stop doing anything that writes to the drive until you get the important stuff off it. Don’t format it when Windows offers. Don’t copy anything new onto it. I also wouldn’t run CHKDSK immediately, even though that’s the first thing a lot of people suggest. CHKDSK can change the file system while trying to repair it, which is not great if you still need to recover files.
A drive can end up like this for a bunch of boring reasons: power loss, unsafe removal, a crash, bad sectors, malware, general wear, etc. Sometimes Windows just can’t read the file system anymore, even though the files are still sitting there.
If the drive is still detected, I’d do this first:
- Open Disk Management and check whether the drive shows the correct capacity.
- For an external drive, try a different USB cable, port, or computer, just to rule out a connection issue.
- Recover the files before trying to repair the drive.
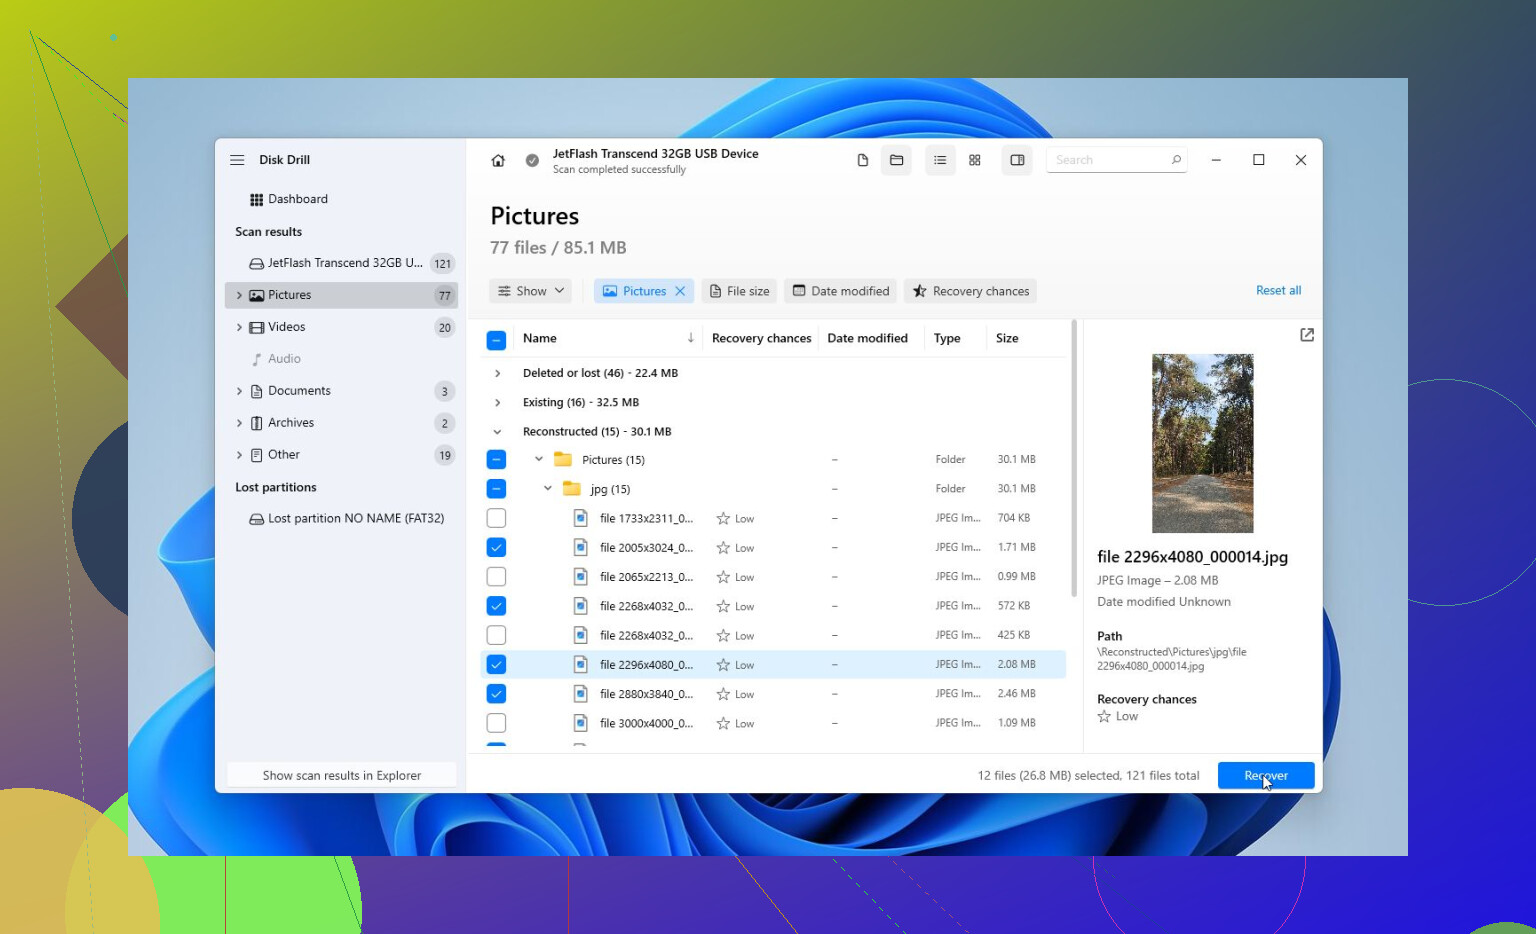
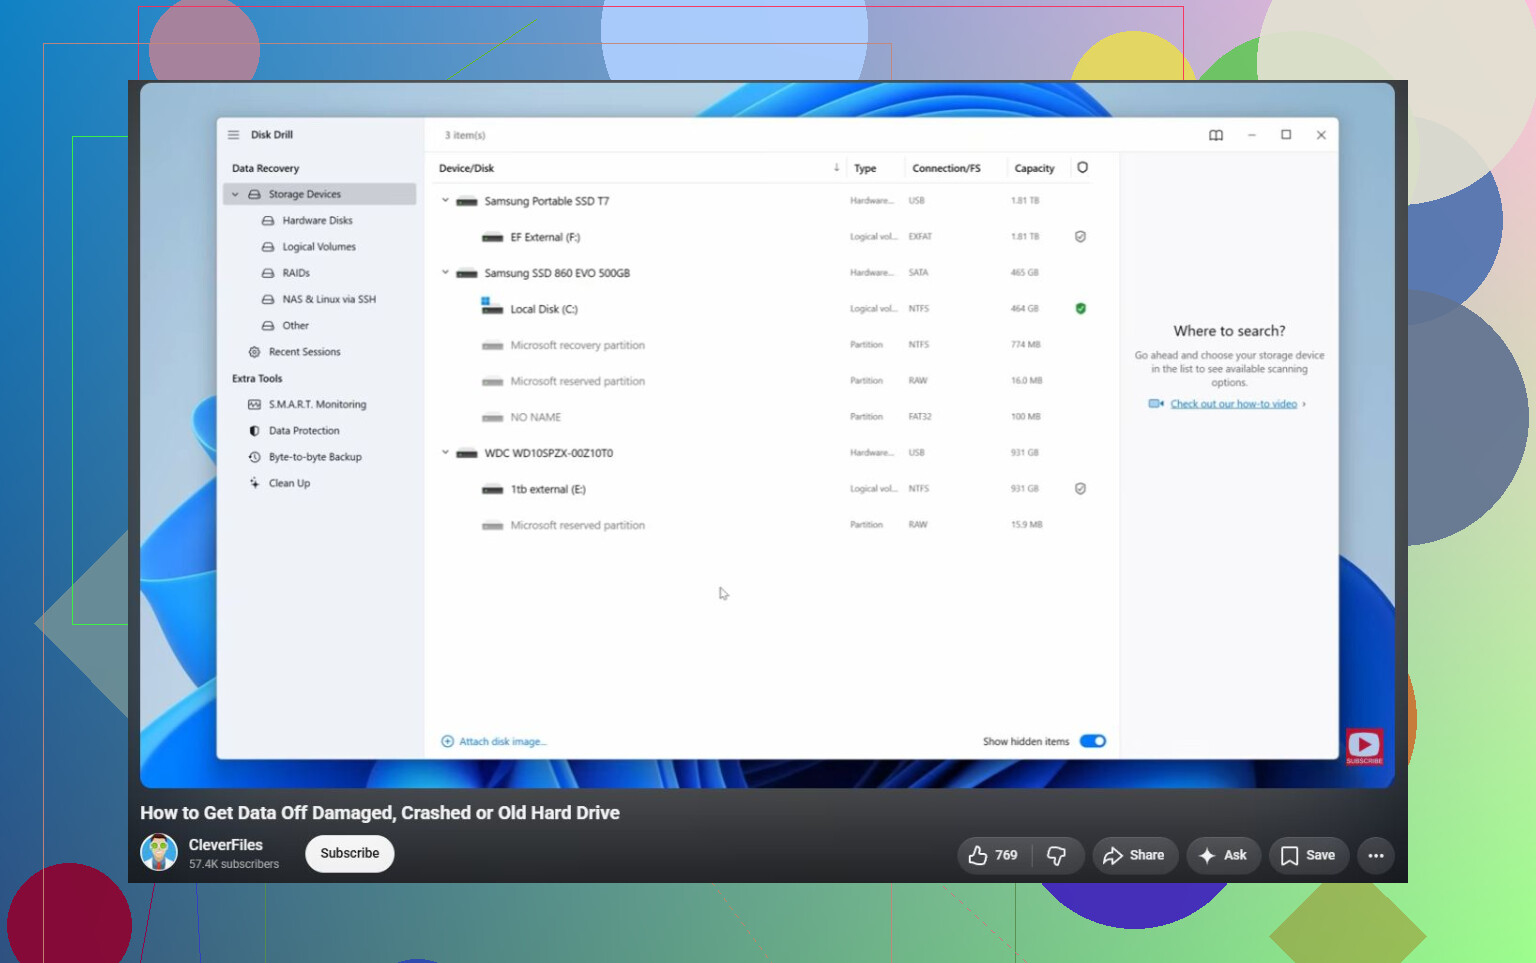
For the recovery part, Disk Drill is a solid option here because it can make a full image of the drive first. That matters if the disk is unstable. You don’t want to keep scanning the original drive over and over if it might be failing.
The safer workflow is basically:
- Install Disk Drill somewhere else, not on the corrupted drive.
- Make a complete image of the corrupted drive, if the drive is readable enough.
- Load that image in Disk Drill.
- Run Universal Scan.
- Preview the results.
- Recover the files to another healthy drive.
The preview step is useful because it lets you check whether the files are actually intact before you commit to recovering them. Even without paying, you can usually scan and preview what’s recoverable, which gives you a better idea of whether this is worth continuing.
After your files are safe, then worry about fixing the drive.
I’d usually try repair options in this order:
- CHKDSK, but only after recovery, and only if the file system is still readable. It can fix file system errors, but it also writes changes to the drive.
- TestDisk if the partition shows as RAW or the partition table looks damaged. Sometimes it can bring the partition back without formatting.
- Format the drive if nothing else works. A quick format can clear logical corruption by creating a fresh file system. If the same drive corrupts again later, I wouldn’t trust it with anything important.
Watch how the drive behaves, too. Clicking sounds, random disconnects, wrong capacity, or disappearing from Disk Management are bad signs. That points more toward hardware failure than simple corruption.
If you see that kind of behavior, stop with the DIY attempts and look at a professional recovery lab. They can diagnose the drive, deal with damaged parts if needed, clone it with proper equipment, and recover from the clone instead of hammering the failing disk. Many reputable labs also work on a “no data, no fee” basis, so you normally only pay if they actually recover something.
So yes, a corrupted hard drive can often be fixed. But get the files off first. Once the data is safe, repairing or formatting the drive becomes a lot less risky.
9 Likes
Don’t assume “visible in Disk Management” means Windows is actually reading the drive properly. Sometimes it only means the controller answered and reported a disk, while the file system, partition table, or even the USB bridge is still making a mess of things.
I agree with the warning about not running CHKDSK first. The missing check I’d do before recovery software is to look at how the drive is shown. If it says RAW, unallocated, wrong size, or asks to initialize, back out and don’t click through. If it’s an external drive, try removing the USB hub from the equation and plug it directly into the PC. If it’s a 3.5 inch external, make sure the power brick is good too. Weak power can make a drive look “corrupt” when it’s really just dropping out mid-read.
For software recovery, scanning is fine if the drive is stable, but don’t save recovered files back to that same disk. Disk Drill or similar tools are useful when you can preview files first, but if the drive is clicking, freezing the whole computer, or disconnecting during scans, stop. At that point every retry can make the final recovery worse. If the data matters more than the cost of the drive, clone/image first or hand it to a lab. If the data is replaceable, then sure, try software recovery, copy what you can to another disk, and only after that think about formatting or repairing it.
Do not keep power-cycling it just to see if it comes back. A failing drive can get worse from repeated reconnects, especially if it is hanging, clicking, or taking forever to show up.
The part that gets missed a lot is that “corrupted” is not one problem. You need to decide whether you’re dealing with logical damage or a dying disk. Those are handled differently. If the drive mounts sometimes, shows the right size, and does not freeze the machine, recovery software may be fine. If it stalls Windows Explorer, disappears during reads, reports the wrong capacity, or makes odd sounds, treat it as hardware trouble and stop trying normal Windows tools.
I wouldn’t spend much time browsing the drive in Explorer either. Explorer is bad at this because one bad folder or thumbnail preview can make it sit there forever. It can look like the whole disk is dead when Windows is just choking on a damaged directory. If the data matters, go straight to a recovery workflow instead of double-clicking around and retrying the same folder ten times.
Before scanning, check the boring stuff:
Use a known-good cable.
Plug directly into the motherboard USB port if it is external.
Avoid front-panel USB ports and hubs.
If it is a bare SATA drive, connect it internally if you can.
Make sure you have a second drive with enough free space for recovered files, and preferably enough space for a full image.
That last point matters more than people expect. If this is a 2 TB drive, you may need close to 2 TB just for an image, plus more for recovered files. Starting a scan and then realizing you have nowhere to save the results is a great way to waste a whole day.
I agree with the others on not running CHKDSK first, but I’d be even more blunt about it: CHKDSK is a repair tool, not a recovery tool. It can be useful after your files are copied somewhere safe. Before that, it can rename things, delete broken directory entries, or “fix” the file system in a way that makes recovery less clean.
If the disk sounds and behaves normally, I’d do this:
- Do not initialize, format, or “repair” it.
- Check whether Disk Management shows the correct size.
- Check SMART health with a read-only tool if the drive stays connected long enough.
- If SMART looks bad, clone/image first.
- Scan the clone or image, not the original, when possible.
- Save recovered files to another disk.
Disk Drill is fine for the scan-and-preview side, especially if you are more comfortable with a GUI than command-line tools. The honest caveat is that no recovery program can fix a physically failing drive by itself. If the drive is dropping offline or throwing tons of read errors, the software is not the magic part. The important part is reducing reads from the original disk and getting an image while it still responds.
If you are comfortable with more technical tools, cloning with something like ddrescue is often a better first move than a file recovery scan on the original drive. It is designed to skip bad areas and come back to them later instead of getting stuck forever. But it is less friendly, and choosing the wrong source and destination can wipe the wrong disk, so don’t use it casually if you are not sure what you are doing.
A small edge case: if the drive was used with BitLocker, a NAS, a DVR, a Mac, Linux, or some backup program, Windows may show it in Disk Management but not understand the file system. That does not always mean corruption. It may mean Windows simply can’t mount it normally. In that case, formatting or “initializing” would be the worst possible answer.
Another thing to watch for is encryption. If the files were encrypted and you lose the key or the original Windows account credentials, recovering the raw files may not be enough. Get the BitLocker recovery key, old password, or whatever credentials apply before you start assuming the recovered files will open.
If the drive contains anything irreplaceable, family photos, business records, legal stuff, stop before the DIY stage gets messy. A lab is expensive compared with the cost of a new drive, but cheap compared with permanently making the recovery harder. If it is replaceable data, then software recovery is a reasonable attempt, but I’d still avoid writing anything to that disk until you are done.
After recovery, I would not trust that drive again just because a format works. Drives that corrupt once after a bad disconnect can be okay, but drives that vanish, crawl, or show SMART warnings belong in the “maybe temporary scratch disk, never important storage” pile. Backup first, repair later, then replace it if it behaves even a little suspiciously.
Leaving the drive connected while you think about what to do can still be doing damage, even if you are not opening files. Windows may try to mount it, index it, scan it with antivirus, create recycle bin/system volume info folders, or keep retrying bad reads in the background. So if the data matters, I’d unplug it until you have a target drive and a plan.
I agree with the others about avoiding CHKDSK first, but I’d be a little more aggressive about taking Windows out of the equation if the drive acts weird. If Explorer freezes, Disk Management hangs, or the drive keeps making the connect/disconnect sound, don’t keep testing it from normal Windows. That is where people accidentally turn a recoverable disk into a worse one because every “let me just check one more time” is another round of reads.
A simple safe-ish approach is: get another disk ready, boot from something that will not auto-repair the drive, then image the bad drive before doing file recovery. If Linux or ddrescue is too much, then a GUI tool like Disk Drill can be reasonable as long as you use it to image or scan carefully and recover to a different drive. The important bit is not the brand of software, it’s that you are not saving results back onto the damaged disk and not letting a repair tool modify it before you have a copy.
One small practical thing people forget: write down what Disk Management shows before changing anything. Capacity, partition layout, whether it says RAW, unallocated, healthy, initialized, GPT/MBR, all of that. Take a phone photo if needed. If you later ask for help, that information is much more useful than “Windows sees it but won’t open it.”
And if the files are worth money or stress, set yourself a cutoff. For example, one attempt to image it, no repeated scans if it starts dropping offline, no freezer tricks, no opening the case, no “initialize disk” button. If it behaves normally and the corruption is just logical, software recovery may work fine. If it is unstable, the cheapest DIY path can become the expensive one pretty fast.