I accidentally deleted important files on my Windows 11 PC and already emptied the Recycle Bin before realizing I still needed them. I’m trying to find the best way to recover deleted files in Windows 11 without making things worse, and I really need help figuring out what to do next.
Losing the wrong file feels bad fast. I did this with a project folder once, and the worst move was panicking and keeping the PC busy. If this happened to you, stop using the drive as much as you can. No installs. No downloads. No copying stuff around. Even normal use adds writes, and those writes eat into recovery odds. On SSDs, TRIM makes this even less forgiving, so time matters.
What I’d check before touching recovery tools:
- Recycle Bin. I’ve seen files sit there while I was sure they were gone.
- OneDrive Recycle Bin, if your desktop or documents sync there.
- File History, Previous Versions, or any backup you turned on months ago and forgot about.
- Other storage spots, old USB drives, external disks, email attachments, cloud folders.
- Windows Search. Sometimes the file got renamed or dragged into some random folder.
If none of those turn up anything, I’d move to recovery software right away.
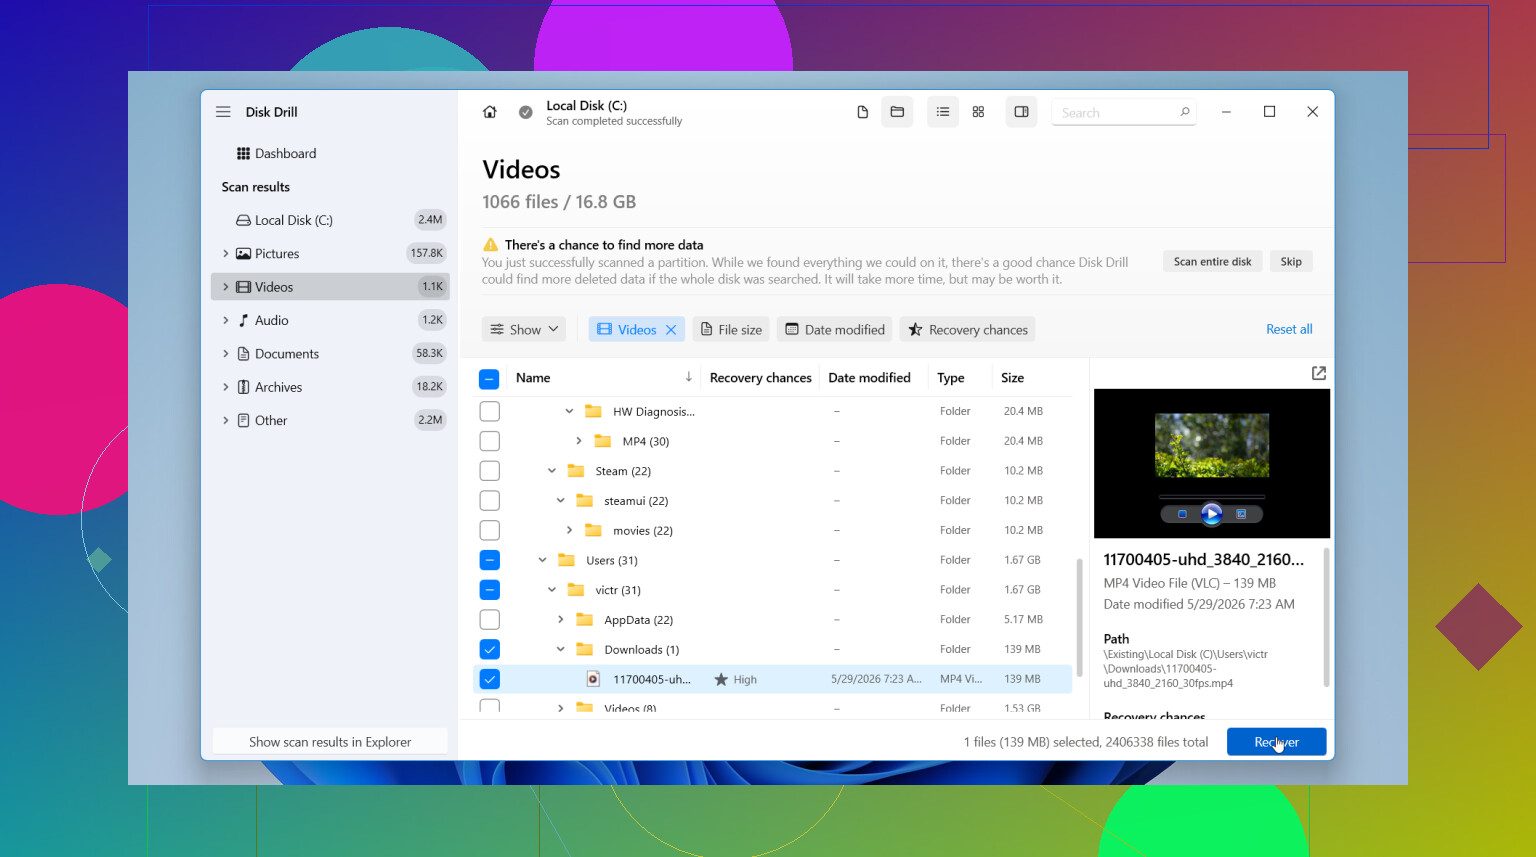
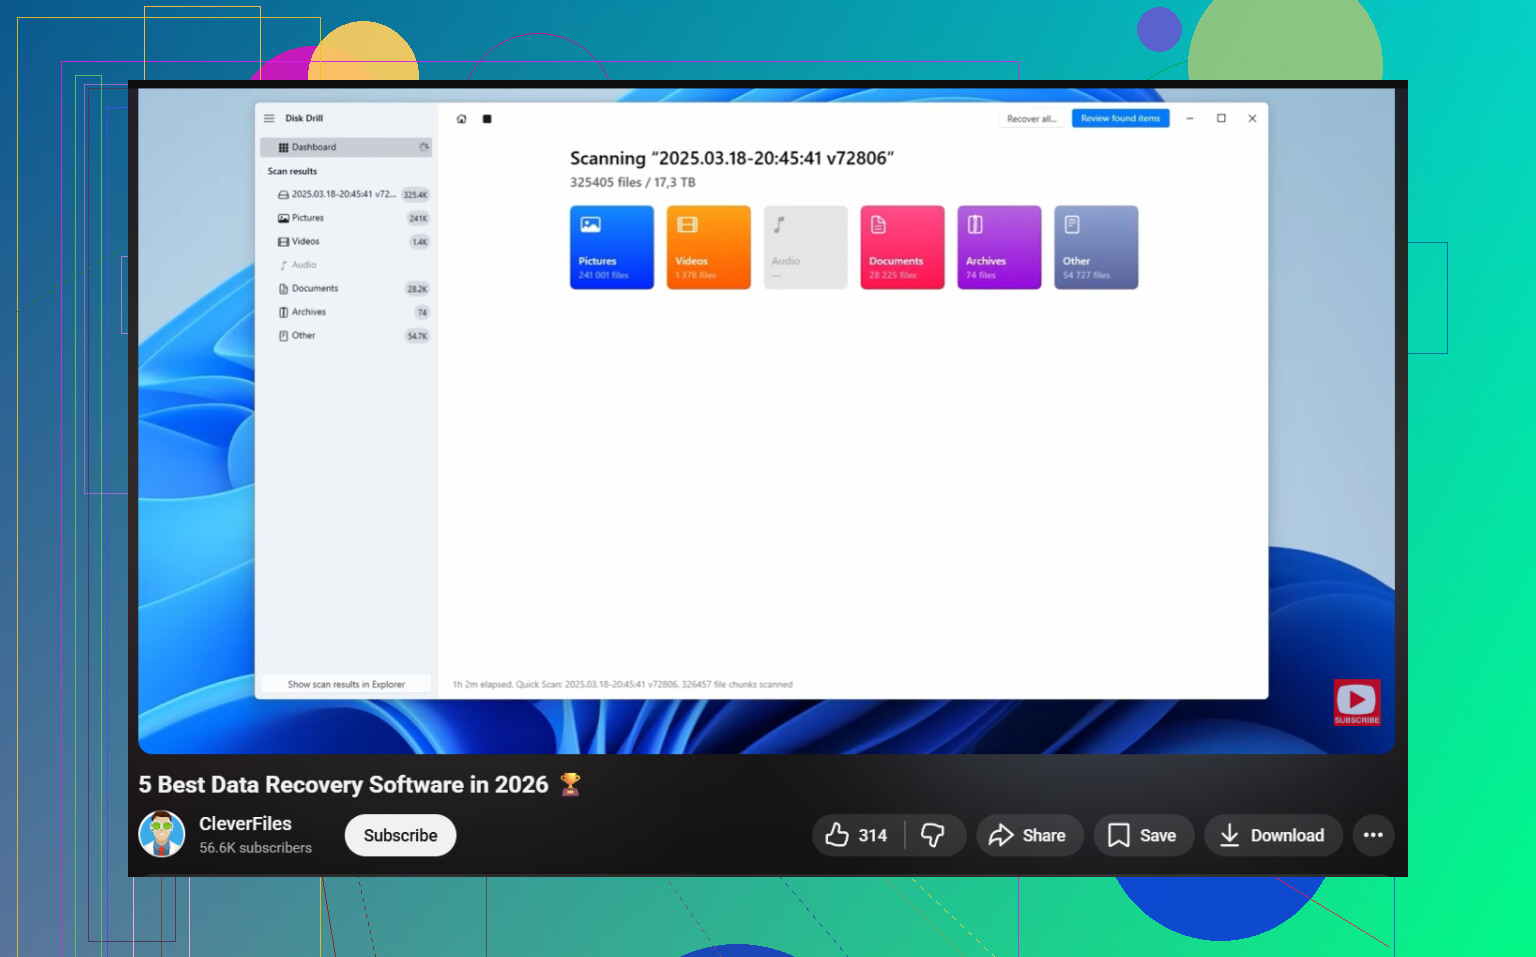
I’d start with Disk Drill. I’ve used it on deleted files and on damaged partitions, and it was one of the few tools where I didn’t feel like I was fighting the interface the whole time. It scans for deleted data, works on formatted or corrupted volumes too, and when the file system info is still there, it often keeps the original names and folders. That part saves a ton of cleanup later.
The usual flow is simple enough:
- Install Disk Drill, but put it on a different drive if you have one.
- Pick the drive where the missing file used to live.
- Run the scan and let it finish. Don’t stop early unless you have a good reason.
- Use search and filters to narrow the mess down.
- Preview the file first, so you know it’s the right one and not a broken copy.
- Recover it to another drive. Do not restore onto the same drive you’re scanning.
The preview tool is the part I liked most. I could check whether a photo opened, whether a document looked intact, stuff like that, before wasting time recovering junk. The results list is also cleaner than what I got from a lot of free tools. On Windows, the free version gives unlimited scanning and preview, and up to 100 MB of recovery for free.
If you want a no-cost option from the start, PhotoRec is the one people bring up for a reason. It works. I’ve used it too. But it’s rougher. It leans hard on file signatures, so your recovered stuff often comes back stripped of original file names and folder paths. After a big scan, you might be staring at piles of files named things like f123456.jpg inside recup_dir folders. If your deleted file was one photo, fine. If it was a mixed batch of docs, videos, and images, sorting gets old realy fast.
So my take is this. Start with Disk Drill if you want a smoother process and better organization. Use PhotoRec if you need a fully free route and you don’t mind doing more cleanup by hand after the scan.
36 Likes
Stop writing to the drive first. If the deleted files were on your C: drive, every install and update lowers recovery odds, esp on SSDs.
I mostly agree with @mikeappsreviewer, but I would add one thing before third party scans. Try Microsoft’s own Windows File Recovery. It’s free, command line, and works best when you know the file type or old folder. It’s ugly, but it sometimes pulls docs and pics back cleanly. Search for Windows File Recovery in the Microsoft Store, install it on another drive if you have one, then recover to an external drive or USB.
If you want the easier route, Disk Drill is still the better pick for most people. Better layout, previews, faster triage. If you want a plain roundup, this is a solid place to start for the best data recovery software for Windows PCs, see how Windows file recovery tools work.
One more thing people skip. Check your browser download history and recent app lists. I found a “deleted” PDF once because Acrobat’s recent files still pointed to a copy in Temp. Weird, but it hapens.
If the files matter a lot, shut the PC down and use another machine to prep recovery stuff. That gives you the best shot.
If the files were deleted from an SSD, I’ll mildly disagree with the “just try everything” approach from @mikeappsreviewer and @stellacadente. On modern Windows 11 systems, too much poking around can make things worse fast, esp if TRIM already kicked in. Sometimes the smartest move is to stop, check whether the drive is SSD or HDD, and decide based on that.
A couple things not mentioned yet:
- Check whether the missing files were in a user profile that got reset or switched. Sometimes the files are still sitting under
C:\Users\OldName\or a temp profile. - Look in hidden locations like
C:\$Recycle.Bin\andAppDataif you know the file name. - If it was an app-specific file, open that app and check AutoRecover, temp saves, cache folders, or “Recent”. Office apps are famous for leaving recoverable leftovers.
- If you have System Restore enabled, it usually won’t restore personal files directly, but it can sometimes help you locate older app data or config-linked files.
If you do need software, Disk Drill is a solid pick because it’s easier to sort through results than a lot of the old-school recovery tools. Main thing is: recover to a different drive, not the same one. That part matters more than people think.
Also, if the files are truly irreplaceable, stop DIY and use a pro service before more writes happen. Pricey, yeah, but cheaper than losing months of work.
For anyone searching around, this Windows 11 deleted file recovery discussion covers the problem pretty well too.
One angle I’d add that the others only touched lightly: check shadow copies and app temp folders with NirSoft tools or Everything search before doing a full carve. I actually disagree a bit with the “scan right away no matter what” mindset from @stellacadente and @mikeappsreviewer. If the file was recently opened in Office, Adobe, Notepad++, or even a browser, there’s a decent chance a temp or autorecovery copy exists and that’s faster to validate than digging through thousands of deleted entries.
A few places worth checking:
%AppData%and%LocalAppData%C:\Users\YourName\AppData\Local\Temp- Office AutoRecover paths
- Adobe recent/cache locations
- OneDrive version history, not just its recycle bin
- File name fragments via Everything search if you remember part of the name
If that fails, then yeah, use a recovery tool. Disk Drill is the practical choice if you want something readable.
Disk Drill pros
- easy to sort results
- preview is useful
- better for mixed file types
- less headache than raw free tools
Disk Drill cons
- free recovery is limited
- deep scans can return lots of junk
- not magic on SSDs after TRIM
- install location matters
Compared with the suggestions from @nachtdromer, I’d put app-level recovery checks before command-line work unless you already know the exact folder and extension. If the files are on an SSD and truly critical, stop DIY sooner rather than later.
Before running scans, check places where you shared the files. Open Teams, Slack, Discord, WhatsApp, or email, then search the filename or date. Download the uploaded copy to an external drive.
Also ask coworkers, clients, or friends who recieved the files to send them back. For project folders, check GitHub, shared NAS folders, or old ZIP uploads.
This route takes minutes, avoids writing recovery data onto your SSD, and often restores the exact file with its original name. I recovered a deleted presentation from a Teams chat this way, no software or messy scan needed.
The uncomfortable truth nobody said plainly: if those files lived on a system SSD and you already emptied the bin, TRIM has probably wiped the mapping within seconds to minutes. No tool undoes that, free or paid. So set your expectations before you spend an evening scanning. On a spinning HDD or an external SSD without TRIM, your odds are genuinely decent. On the C: drive of a modern Windows 11 laptop, often they are not.
Because of that, I’d flip the order some people used here. @codepanda8560 put the ‘check where you shared it’ step near the end, but for anything work related that should be your first ten minutes, not your last resort. Sent it in an email? It’s in Sent. Dropped it in a Teams or Slack thread? It’s still on their servers. That path ignores TRIM entirely and hands you the exact file with its real name. Same with the app leftovers @waldgeist mentioned. Faster and cleaner than any carve.
On the tools themselves, one caveat people gloss over. A green preview does not mean a healthy file. I’ve seen recovery apps show a document or image that opens fine in preview and then comes back partly corrupted once restored, because only some of the data blocks survived. So recover it, actually open it in the real program, and confirm before you assume you’re safe. Preview is a hint, not a guarantee.
Disk Drill is a reasonable pick if you get to the software stage, mostly because sorting and filtering results is less painful than the raw free tools. Just know the free tier caps recovery at a set amount, so treat the free run as your scan and triage step, then decide if what it found is worth paying for. If it turns up nothing meaningful on that first scan, throwing money at it usually won’t change the result.
If the data is truly irreplaceable and it’s on an SSD, honestly stop touching it and price out a pro service now. Every extra scan is more writes, and DIY on a live system drive is the scenario where these tools disappoint the most.